


How To Install Countertops in Orlando
Outline:
- How To Install Countertops In Orlando
- Material Selection
- Determine How Much Material You NeedHow to Apply Backing
- Countertop Dimensions
- Test Fitting
- Cutting the Sink HoleFinal Installation
- Conclusion
- FAQs
- What tools do I need to install my countertop?
- What is the best way to get an accurate template for my sink?
- How long does countertop installation take?
How To Install Countertops in Orlando
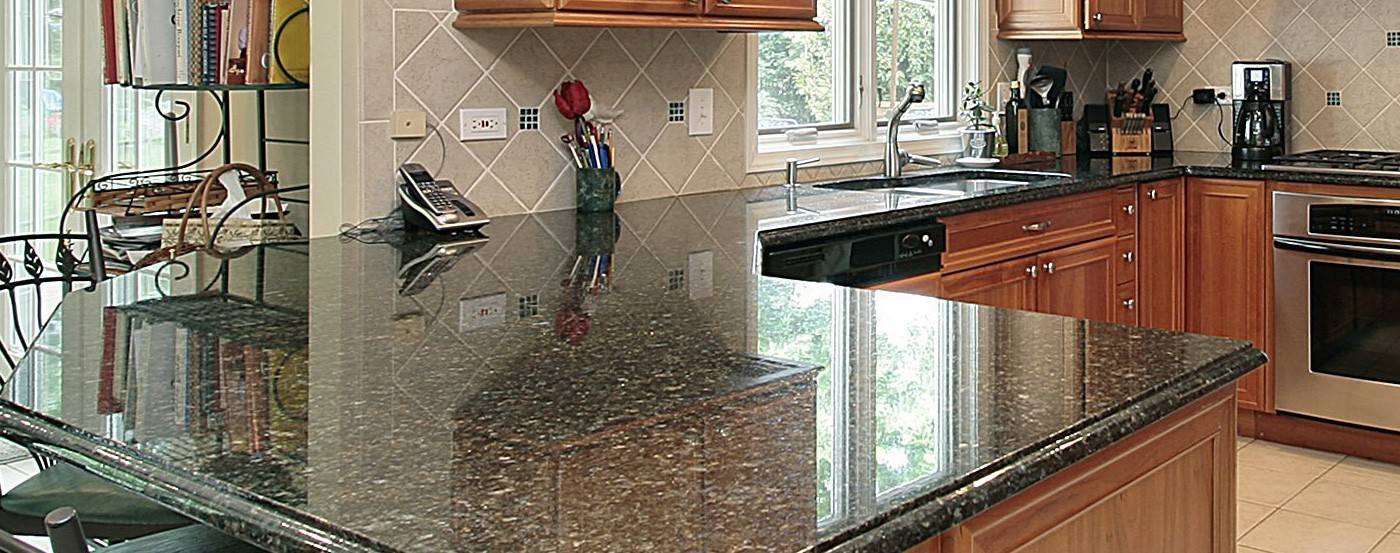
Installing countertops in Orlando doesn’t have to be a daunting task. With the right tools and knowledge, you can easily install quality countertops for your home or business in Orlando. In this guide, we will provide tips on choosing the best material for your needs, installation techniques that are easy enough for any level of do-it-yourself from beginner to pro, and advice on ensuring a successful outcome. Whether deciding between granite vs. quartz countertops or trying out one of our many other materials like marble or travertine, this guide is here to help ensure your counters look their best!
Material Selection
Installing countertops in Orlando can seem intimidating, especially considering all the available materials. Don’t worry! Here are seven steps that will help guide your material selection process and ensure you pick the best option for your project. View how to find the best countertops in Orlando
- Research Your Options – To guarantee you select the ideal material for your project, evaluate all the opportunities available. Weigh cost-effectiveness, longevity, upkeep needs, and visual appeal. Ensure that what you finally choose suits both your requirements and finances!
- Take Measurements – Accurate measurements are an indispensable component when selecting countertop materials. Before settling on a material or color, take precise measurements of the area where you plan to install it.
- Visit Showrooms – Exploring showrooms is a great way to observe various materials and colors up close before finalizing your choices. Furthermore, you can talk with knowledgeable professionals to advise on the best options for your project.
- Get Samples – Once you have chosen your favorites, request samples to experience them in the flesh before making a definitive determination.
- Review Installation Requirements – To guarantee the right installation, analyzing any specific requirements for your preferred material is essential before beginning the job. Every material requires distinct tools and procedures to fit them accurately – so you must go over these details beforehand. That way, once your project begins, everything will be properly installed!
- Ask Questions – Don’t be afraid to inquire any questions concerning the installation process or other worries you may have about the material. Doing so guarantees that everything runs smoothly and seamlessly during setup, leaving you with a perfect countertop for your area!
- Consider Accessories – While planning your countertop installation, don’t forget the small details that will make all the difference in creating a beautiful and cohesive look. Consider trims like edging strips or toe kicks to complete the space with style and grace!
Determine How Much Material You Need
Whether doing a kitchen remodel or crafting cabinets or countertops from scratch, always closely monitor how much material you need. Getting stuck halfway through with nothing left to work with would be a shame. One of the key considerations when considering your material is that every cut you make reduces your overall amount of material. Ideally, you want measurements that encompass the full length of the cabinets and their depth: 24 inches deep run of cabinets? You’ll need a slab that’s 24 inches deep and wide enough to match the length of your cabinets. Measure twice, cut once; success is always just one-fourth away!

Dimensions
When making a cabinet purchase, it’s incredibly important to be aware of the dimensions and terrain of the workspace. With 90-degree corners, you must consider the cabinet’s depth and length to find one that will fit perfectly. A 45-degree angle is usually necessary when accommodating a second slab at the corner. To ensure that all these factors have been considered, sketching up an accurate layout of your cabinet dimensions will make all the difference – providing clarity for you and whoever you are getting assistance from when choosing cabinets. Being organized will help produce maximum efficiency in your final cabinet selection and installation. Learn how to measure countertop space.
Apply Backing
Installing a countertop on your cabinets can seem daunting, but these steps are relatively easy! Before anything else, it is important to cover the tops of your cabinets with an extra reinforcement layer. This will act as an additional backer and ensure that the weight of the countertop is uniformly distributed across your cabinet system. Depending on the type of countertop, different types of backing may be necessary. For instance, if your countertop has an overhanging lip, you can use regular plywood cut to size for stability. In contrast, countertops without a lip won’t need backing and can be secured using epoxy. With these simple steps in mind, you’ll have no problem installing your new countertop quickly!
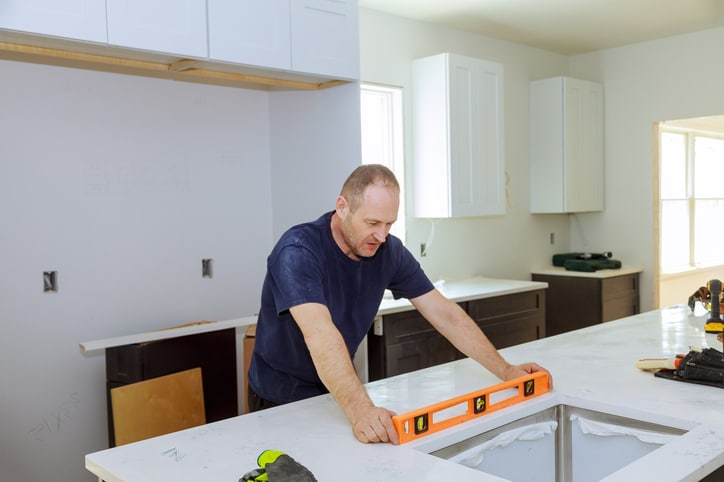
Test Fitting
Crafting the ideal fit for your Orlando countertop can be tedious; however, test fitting is an integral step in ensuring you get precisely what you want. Here are seven key steps to help ensure that perfect fit:
- Accurately measure the area for installation and mark any finished edges before setting up your countertop.
- Attach build-up strips to your walls and cabinets to give the countertop an even foundation.
- Before installation, double-check that all corner pieces of the countertop fit correctly in their respective positions. Inspecting for accuracy is essential to ensure a successful fitting.
- Fasten the corner pieces in place with clamps if desired for maximum security.
- Trace the outline of your walls onto the countertop using a compass or other scribing tool, considering any unusual shapes or sizes.
- To create your desired countertop shape, use a jigsaw or circular saw fitted with a fine-toothed blade to trim the material accordingly. Ensure not to cut too deep, or you might damage the surface!
- Before fastening the pieces with adhesive or screws, ensure they fit correctly.
Cutting Sink Hole
You’ll need the right tools and techniques to properly cut a sinkhole while installing countertops in Orlando. Follow these seven simple steps to get it done!
- Carefully measure the dimensions of your sink, then mark them on your countertop with a pencil or marker for reference.
- Carefully utilize a jigsaw to cut the designated zone, paying close attention that you remain within its specifications.
- Polish and refine any roughened surfaces with sandpaper or a power sander.
- To guard any nearby surfaces against debris during the cutting process, use painter’s tape around the edge of your sinkhole.
- For smooth and even edges on the sinkhole, utilize a router equipped with a laminate trimming bit to make precise cuts around the perimeter. This will ensure that all sides of your sink match in symmetry and consistency.
- Utilize a chisel or any other tool for cutting laminate countertops to erase any extra material inside the sinkhole.
- Lastly, secure your sink in the desired location with mounting clips or adhesive caulk per the installation process.
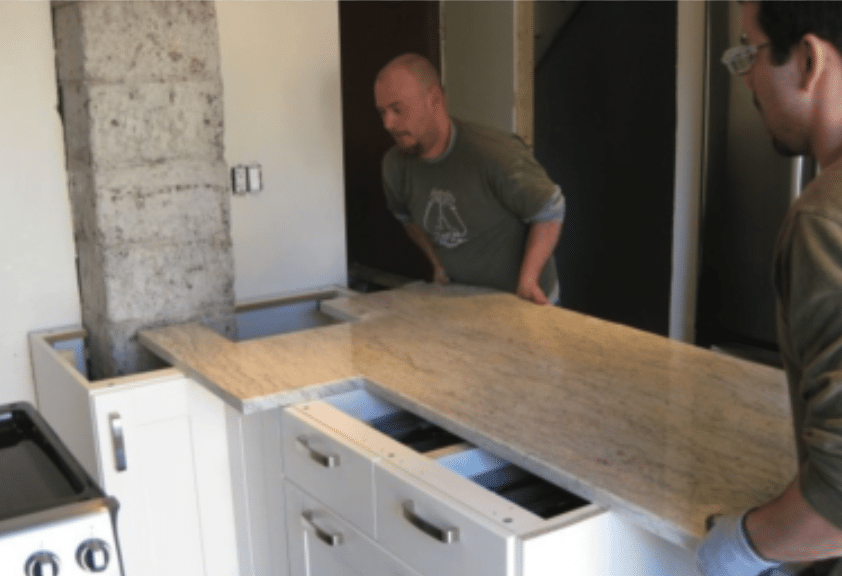
Final Installation
Now that all the hard work of measuring and cutting is out, you can move on to getting your countertop ready for installation! Start by taking your pieces and dry-fitting them onto your cabinets. This is a great way to ensure you’ve got an even overhang, tight seams blocking corners, and that all pieces fit together nicely. Depending on the countertop material, you can secure it to the cabinet or backer board using screws (wood or laminate countertops) or epoxy (stone countertops). Once everything sits just right, apply a liberal amount of epoxy between any surfaces that will be touching and put countertops into place; now, you are ready to completely enjoy it!
Conclusion
Countertop installation in Orlando may seem intimidating, but with the right approach and meticulous planning, it doesn’t have to be. Taking your time and carefully following each step will ensure that your countertops look fabulous while lasting many years. Paying attention to measurements and cutting techniques and having some basic tools can help you create a spectacular addition without needing contractors! So don’t wait for another second – take control of your kitchen or bathroom today and enjoy the stunning countertops you’ve wanted all along!
FAQs
- Q: What tools do I need to install my countertop?
A: The tools and materials you must have to install countertops vary depending on the type of material. If your project centers around laminate or wood, grab a jigsaw, drill bit, screws, epoxy glue, and an outline for cutting out any sinkhole. Stone countertops will require a masonry hole cutter and saw instead. Also vital is measuring equipment like a tape measure, leveler, and straight edge – imperative for all types of counters!
- Q: What is the best way to get an accurate template for my sink?
A: To guarantee that your sinkhole template is precise, take a paper sheet and trace the sink before cutting it out. After this step, use the template to trace onto the plywood before utilizing a jigsaw for cutting purposes. This way, you’ll know exactly how well-fitted your sink will be, with any potential edits or modifications ready if needed. Plus, instead of an under-mount sink, consider getting a drop-in one—the lip around its edges will cover up any mistakes in case you make slightly mistaken cuts!
- Q: How long does countertop installation take?
A: The installation of your countertop can take anywhere between a few hours & several days, depending on the size of the project, the material used, as well as your experience. Typically speaking, simple installations can usually be done within one day, though if you wish to add intricate details or need complex cuts for a larger project, it may require more than that.